Using our Online Designer
Create custom artwork with our online designer. Whether you're a novice or a seasoned pro, create stunning visuals effortlessly. With our easy drag-and-drop functionality, you can customize every detail to craft designs that truly represent your unique vision.
We specialize in producing high-quality stickers, labels, and decals. You may be wondering what the differences are between them. Or how do you know which one to order? In the end, they are all very similar, but each product has slight differences that may help you decide which one suits your intended application.
Each product is made with similar materials, all of them adhesive-backed, and you can create them in just about any shape, size, and quantity you desire. Slight variations in adhesive strength and intended application surfaces will help you decide which product is most appropriate for your application.
GET STARTED
Designing Online
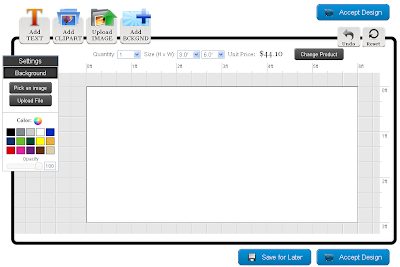
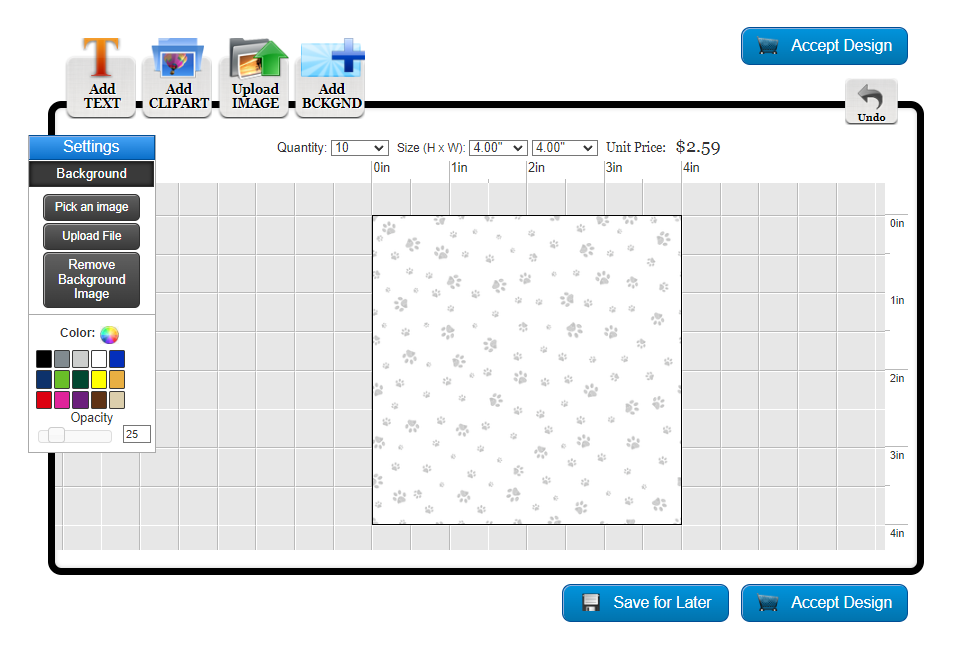
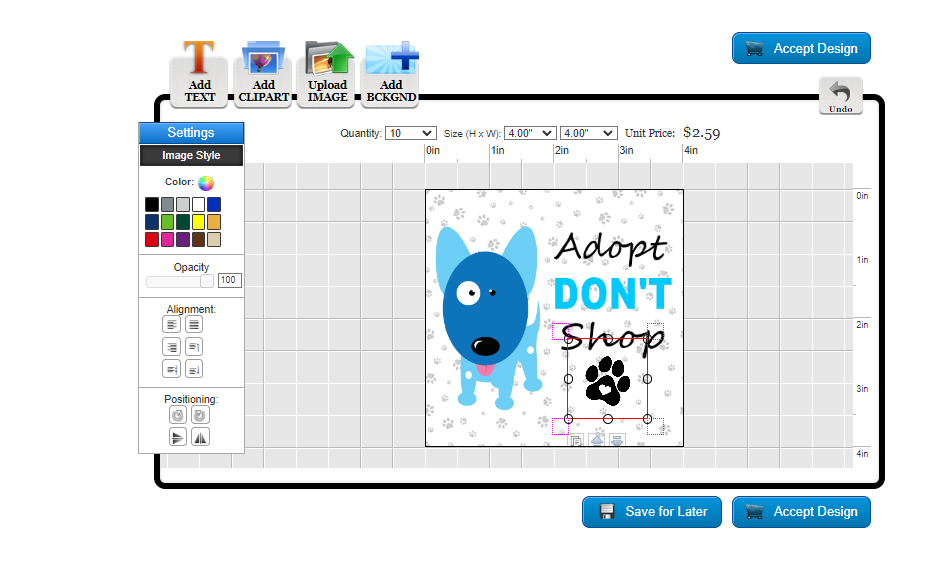
To get into the online designer, you will either need to select a "Blank Template" or click on a template to customize from the product page. Once you get into the online designer, you will see the buttons to Add Text, Add Clipart, Upload Images, and Add Backgrounds.
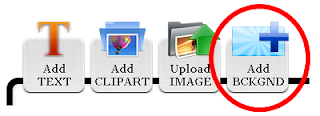
Step 1: Adding a Background
To add a background, select the "Add BCKGND" button at the top of the screen.
A screen will pop up where you will be able to browse through different categories of backgrounds.
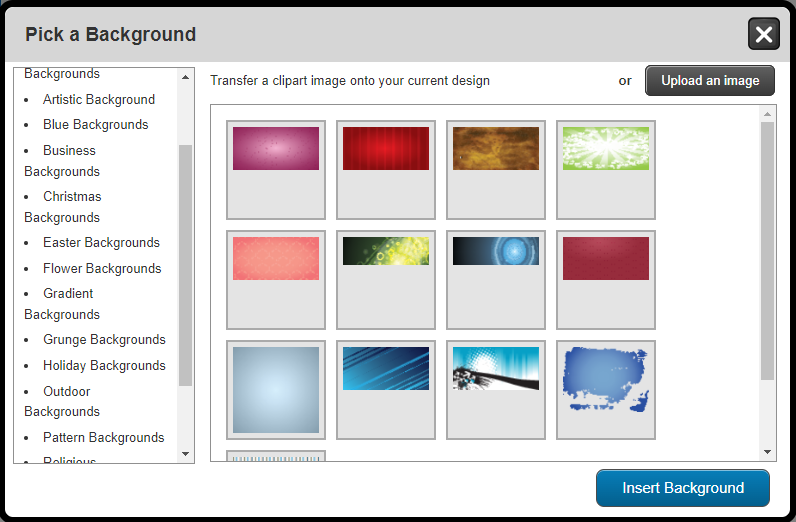
Click on a background category to see the images in that category. Click on the background you want and click the "Insert Background" button, and it will be added to your design.
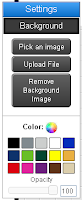
If you want to change the background, you can repeat the process. You can also click on the "Remove Background Image" button on the left sidebar. You can also upload your own background image by clicking on the "Upload File" button.
If you just want a solid color for a background, you can select a color from the color menu on the left sidebar.
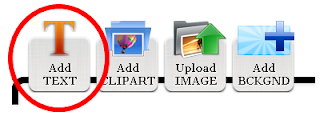
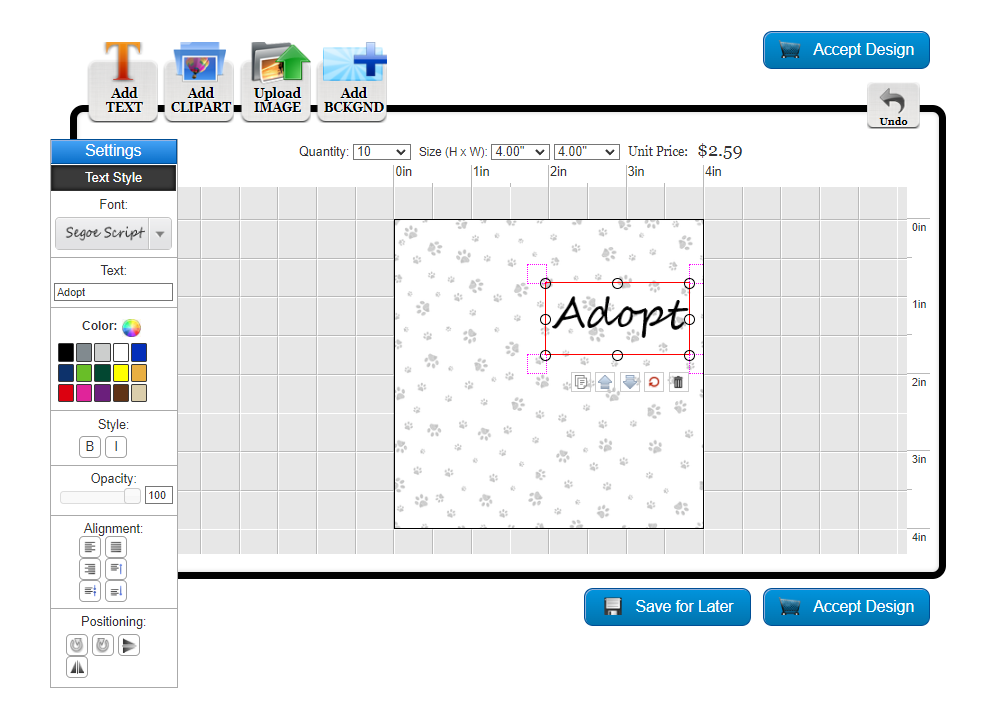
Step 2: Adding Text
To add text, select the "Add Text" button at the top of the screen.
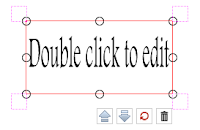
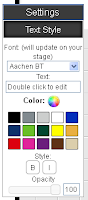 After you have clicked the button, a text box will open on the screen that says "Double click to edit.". You can either double-click the text or select the text box on the side. Once you have added your text, you can make the text larger or smaller by moving the red box on the screen. You can change the font by using the drop-down menu on the left side of the screen. You can change the color by selecting a color from the left sidebar.
*Tip: Hold down "Shift" while dragging the corner. It will hold the proportions when scaling.
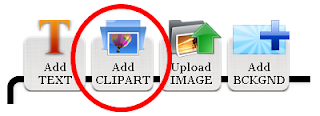
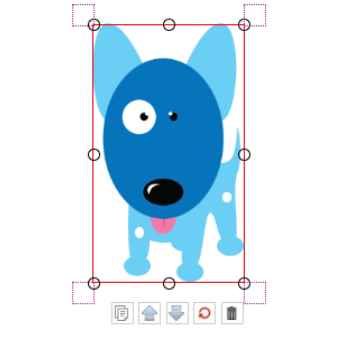
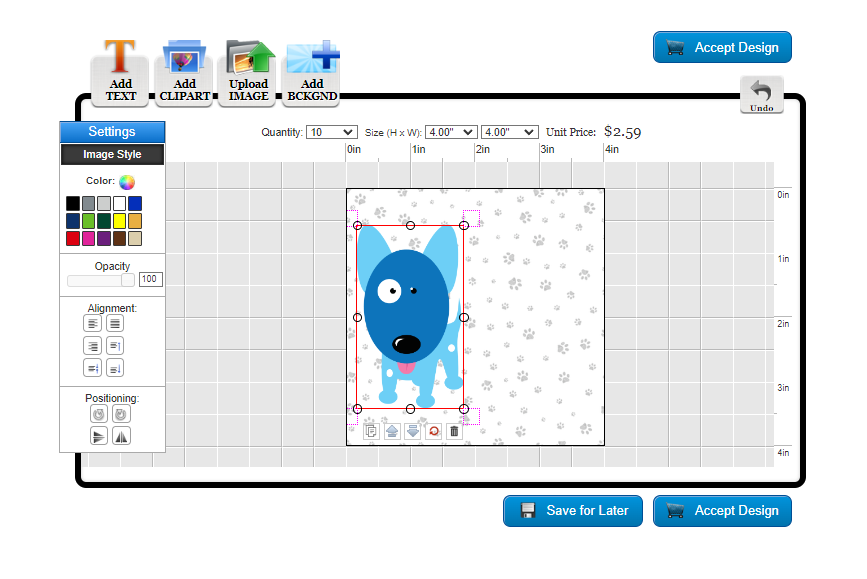
Step 3: Add Clipart
To add clipart, select the "Add Clipart" button at the top of the screen.
Once you click the button, a window will pop up on the screen where you will be able to browse through the clip art categories. Click on a clip art category to view the images in that category. Click on a clip art image to add it to your design.

When the clip art is sent to the designer, it will have a red box with eight circles around the image. You can resize the clipart by selecting one of the eight circles and moving your mouse. If you click "Ctrl" and move the mouse, the image will maintain its proportions. You can also move the image to the front or to the back by clicking on the up arrow or the down arrow. The red circle will restore your image to its original size and shape. The trash can will delete the image. You will be able to move the clip art by selecting it and moving it to the desired location, or you can use the arrows on your keyboard.
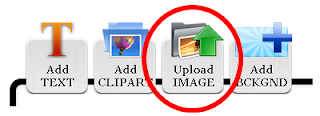
Step 4: Uploading an Image
To upload your own image, select the "Upload Image" button at the top of the screen. Once you click the button, a window will pop up where you can select your desired files from your own computer. Files should not be larger than 100 MB. Vector graphics are preferred for optimal printing. Check out our blog on Raster v. Vector images for more information.
Step 5: Placing your Order
Once your design is done, click on the blue "Accept Design" button at the top or bottom of the page. After you select the button, you will be taken to the product options page, where you can select the finishing options. You can also add in additional information notes explaining where you want your cut lines to be or if you have special instructions. Additionally, a proof will be provided to double-check your design and make sure everything is to your specifications. Once you’re comfortable with your design, click “Add to Cart” and proceed to checkout.

Prefer a different method? Check out our tutorial on how to create your decal design using Canva.